
Pennywort, also known as Centella Asiatica, is a versatile herb that thrives in various environments. Renowned for its medicinal properties and culinary uses, pennywort is a valuable addition to any garden. Learning how to grow pennywort can provide you with a continuous supply of this beneficial plant. In this guide, we will explore the steps to successfully cultivate pennywort in your garden.
Understanding Pennywort
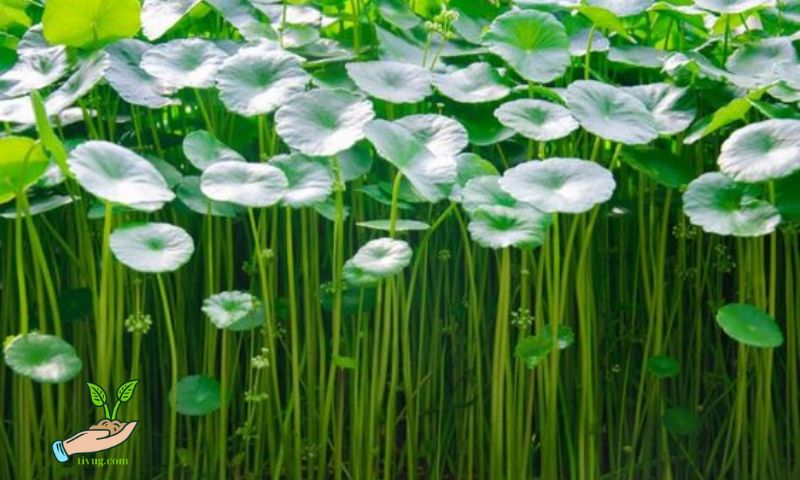
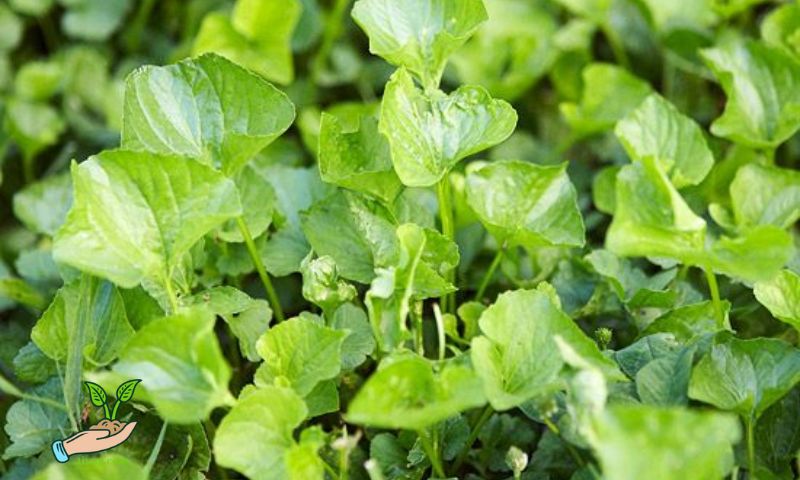
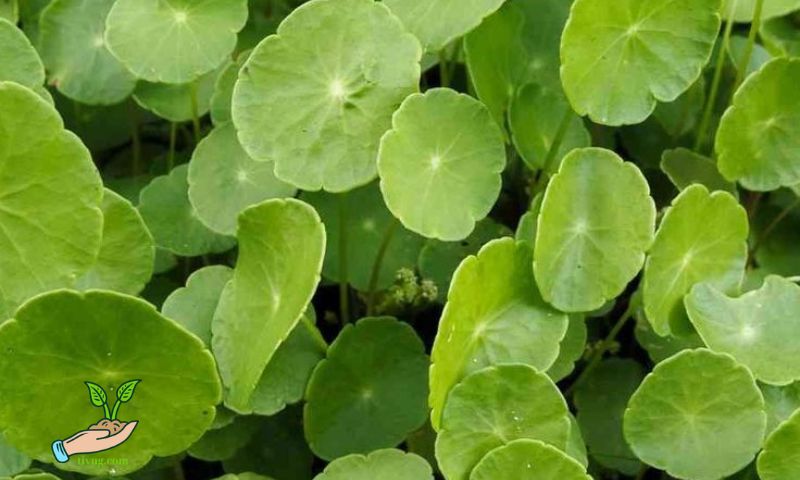
Pennywort belongs to the Apiaceae family and is native to Asia. It is known for its small, round leaves and creeping growth habit. Pennywort varieties include the common Asian pennywort and the Indian pennywort, each with slightly different characteristics but similar growing requirements. This herb thrives in warm, tropical climates but can adapt to various conditions.
Pennywort prefers a warm and humid environment with temperatures ranging from 60°F to 85°F (15°C to 30°C). It grows well in both full sun and partial shade, making it a versatile plant for different garden settings. Understanding these basic requirements is essential for successfully growing pennywort.
Preparing to Grow Pennywort
Choosing the Right Location
Select a location that receives ample sunlight or partial shade. Pennywort can tolerate some shade but will grow more vigorously in well-lit areas. Ensure the chosen spot has good air circulation to prevent fungal diseases.
Soil Preparation
Pennywort thrives in moist, well-draining soil rich in organic matter. Prepare the soil by mixing compost or well-rotted manure to enhance fertility. Aim for a slightly acidic to neutral pH level (6.0 to 7.0). Good soil preparation is crucial for healthy pennywort growth.
Necessary Tools and Materials
Gather the necessary tools and materials for planting pennywort. These include:
- Pennywort seeds or cuttings
- Gardening gloves
- Trowel or spade
- Watering can or hose
- Mulch (optional)
Planting Pennywort

From Seeds
- Sowing Seeds: Start by sowing pennywort seeds indoors in seed trays or small pots. Lightly cover the seeds with a thin layer of soil.
- Germination: Place the seed trays in a warm, well-lit area. Keep the soil consistently moist until the seeds germinate, usually within 2-3 weeks.
- Transplanting: Once the seedlings have developed a few leaves, transplant them to the prepared garden bed, spacing them about 6-12 inches apart.
From Cuttings
- Selecting Cuttings: Choose healthy, vigorous stems from an existing pennywort plant. Cut a 4-6 inch section just below a node.
- Rooting Cuttings: Place the cuttings in a glass of water or directly into moist soil. Keep the soil consistently damp to encourage root development.
- Transplanting: Once the cuttings have established roots, transplant them into the garden, spacing them similarly to seedlings.
Transplanting Seedlings
If you purchased pennywort seedlings from a nursery, transplant them into your garden following the same spacing guidelines. Water thoroughly after planting to help them settle into their new environment.
Caring for Pennywort
Watering Requirements
Pennywort prefers consistently moist soil. Water the plants regularly, especially during dry spells, to keep the soil damp but not waterlogged. Mulching around the base of the plants can help retain moisture.
Fertilization Tips
Feed pennywort with a balanced, all-purpose fertilizer every 4-6 weeks during the growing season. Alternatively, use organic options like compost or worm castings to provide essential nutrients.
Pest and Disease Management
Pennywort is relatively pest-resistant but can be susceptible to aphids and fungal diseases. Use insecticidal soap or neem oil to control aphids. Ensure good air circulation and avoid overhead watering to prevent fungal issues.
Harvesting Pennywort
When to Harvest
Pennywort can be harvested when the leaves are young and tender, usually around 6-8 weeks after planting. Regular harvesting encourages new growth and prevents the plant from becoming too woody.
How to Harvest
Use scissors or garden shears to cut the leaves and stems about 2 inches above the ground. Avoid harvesting more than one-third of the plant at a time to ensure continued growth.
Post-Harvest Care
Rinse the harvested pennywort leaves thoroughly to remove dirt and debris. Store them in a cool, dry place or refrigerate in an airtight container for up to a week.
Common Issues and Solutions
Troubleshooting Growth Problems
- Yellowing Leaves: This may indicate overwatering or nutrient deficiencies. Adjust watering practices and fertilize appropriately.
- Slow Growth: Ensure the plant is receiving adequate sunlight and nutrients. Consider adding organic matter to the soil.
Solutions for Common Pests and Diseases
- Aphids: Use insecticidal soap or neem oil to control infestations.
- Fungal Diseases: Improve air circulation and avoid overhead watering. Remove and destroy affected leaves.
Uses of Pennywort
Culinary Uses
Pennywort leaves are commonly used in salads, soups, and smoothies. They add a unique, slightly bitter flavor to dishes and are often used in Asian cuisine.
Medicinal Properties
Pennywort is renowned for its medicinal benefits, including its ability to improve cognitive function, promote wound healing, and reduce inflammation. It is used in traditional medicine for its adaptogenic and anti-aging properties.
Other Uses
Pennywort can also be used as a ground cover in gardens and landscapes due to its creeping growth habit. It helps prevent soil erosion and provides a lush, green carpet.
Conclusion
Growing pennywort is a rewarding experience that offers both culinary and medicinal benefits. By understanding the plant’s requirements and following proper planting and care techniques, you can enjoy a bountiful harvest of this versatile herb. Start growing pennywort today and reap the numerous advantages it brings to your garden and health.