
How to Propagate Mulberry Plants from Cuttings – Mulberry plants are beloved for their delicious fruits and ornamental value. Propagating mulberry plants from cuttings is an effective method to grow new plants that retain the desirable traits of the parent plant. This guide explores the step-by-step process of propagating mulberry plants from cuttings, offering insights into the best practices and techniques for successful propagation.
Understanding Mulberry Plants
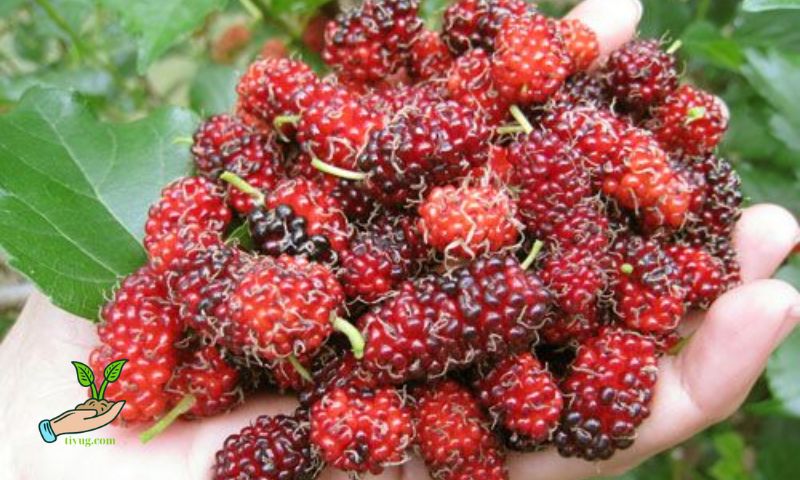
Mulberry plants belong to the genus Morus and are typically classified into several species, including Morus alba (white mulberry) and Morus nigra (black mulberry). They are deciduous trees or shrubs known for their rapid growth and tolerance to various growing conditions. Mulberry plants produce sweet and juicy berries that are enjoyed fresh or used in culinary creations like jams and pies.
Preparing for Propagation
Before embarking on the journey of propagating mulberry plants from cuttings, it is essential to begin with selecting healthy parent plants. This initial step sets the foundation for successful propagation. Look for mulberry trees that exhibit vigor, characterized by robust growth, strong branches, and foliage free from diseases or pests.
Timing is crucial when it comes to taking cuttings for propagation. The optimal period is during the dormant season, which usually falls in late winter to early spring. During this time, the mulberry plant is less active in terms of growth, focusing instead on conserving energy. This dormancy period enhances the chances of successful rooting for the cuttings. The plant’s reduced metabolic activity means it is more receptive to root development, providing a favorable environment for the establishment of new plants.
By carefully selecting healthy parent plants and timing the cutting process correctly, you can maximize the success rate of propagating mulberry plants from cuttings. This approach not only ensures the propagation of desirable traits but also promotes the growth of robust and productive mulberry trees in your garden or landscape.
Gathering Materials
To propagate mulberry plants from cuttings, gather the necessary materials:
- Sharp pruning shears or a knife for making clean cuts.
- Rooting hormone powder or gel to encourage root development.
- Potting mix or a well-draining soil blend suitable for rooting.
Ensure all tools and materials are clean and sterile to prevent the spread of diseases to the cuttings.
Steps to Propagate Mulberry Plants from Cuttings

Step 1: Selecting and Cutting the Branch
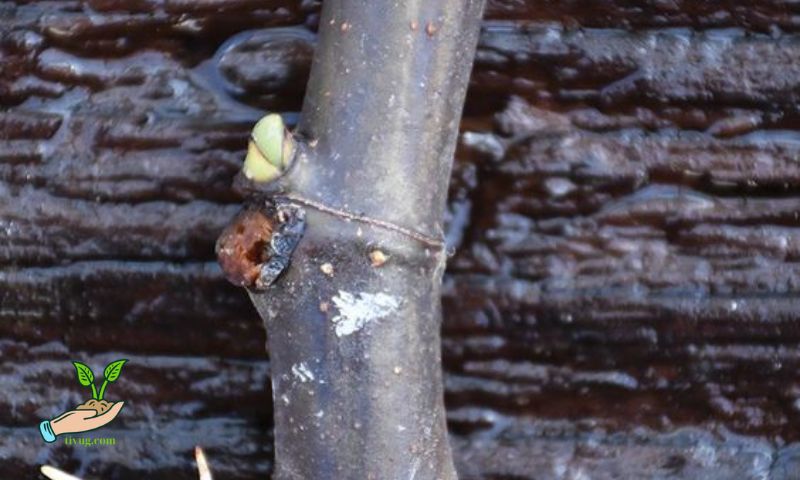
To identify a suitable branch on the mulberry tree for taking cuttings, follow these steps to ensure successful propagation. Look for a branch that meets specific criteria: it should be approximately 6 to 8 inches in length and about the thickness of a pencil. This size ensures that the cutting has enough stored energy and vascular tissue to support root development.
Once you have identified the branch, it’s crucial to use sharp pruning shears or a clean knife to make a precise cut just below a leaf node. Leaf nodes are critical points on the stem where leaves attach, and they contain a higher concentration of growth hormones and cells responsible for root initiation. Making a clean cut below a leaf node ensures that these vital cells remain intact and are able to generate new roots efficiently.
By selecting an appropriate branch size and making a precise cut below a leaf node, you optimize the chances of successful root formation when propagating mulberry plants from cuttings. This method not only enhances the cutting’s ability to establish roots but also promotes overall plant health and vigor in the subsequent growth stages.
Step 2: Preparing the Cutting
Remove any leaves from the lower half of the cutting to reduce moisture loss. Trim the base of the cutting just below the lowest node to expose more surface area for rooting. Optionally, dip the cut end into rooting hormone powder to enhance root formation.
Step 3: Planting the Cutting
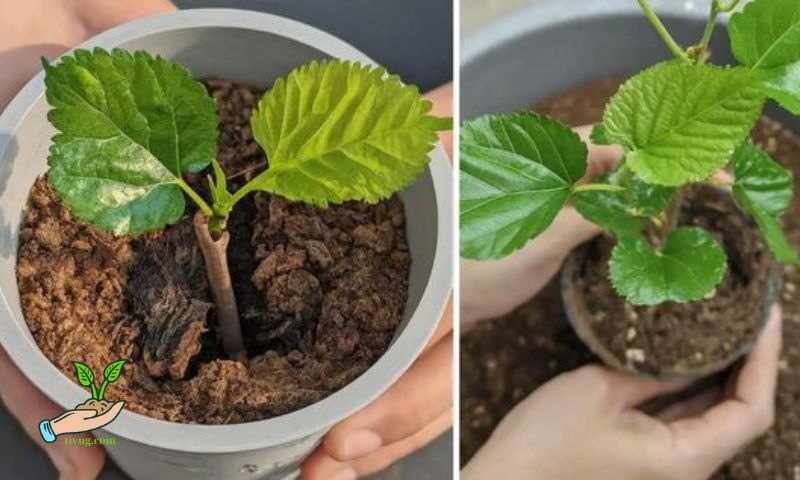
Prepare a pot or container filled with a moistened rooting medium, such as a mix of peat moss and perlite or a commercial rooting mix. Insert the prepared cutting into the soil, ensuring that at least two nodes are buried beneath the surface. Gently press the soil around the cutting to provide stability.
Step 4: Providing Optimal Conditions
Place the pot in a location with indirect sunlight or partial shade to prevent excessive drying out of the cutting. Maintain consistent moisture in the soil by misting or watering lightly as needed. Covering the cutting with a clear plastic bag or a mini greenhouse can help retain humidity and promote root growth.
Step 5: Monitoring and Care
Check the cutting regularly for signs of root development, which typically occurs within 4 to 6 weeks. Once roots are well-established, transplant the young mulberry plant into a larger pot or directly into the garden bed. Water the newly transplanted plant regularly and protect it from extreme weather conditions until it becomes established.
Conclusion
Propagating mulberry plants from cuttings offers a rewarding way to expand your garden with healthy, genetically identical plants. By following these steps and tips, you can successfully propagate mulberry plants and enjoy their delicious fruits for years to come.
Ready to try propagating mulberry plants from cuttings? Follow our guide and share your propagation journey with us. Discover the joy of growing your own mulberry trees and harvesting fresh, flavorful berries right from your garden!